August 30, 2020
Download Free Magento Extension at here (click here)
In this tutorial, we will show you how to configure a payment method for your Magento 2 Store from within the back-end of your website.
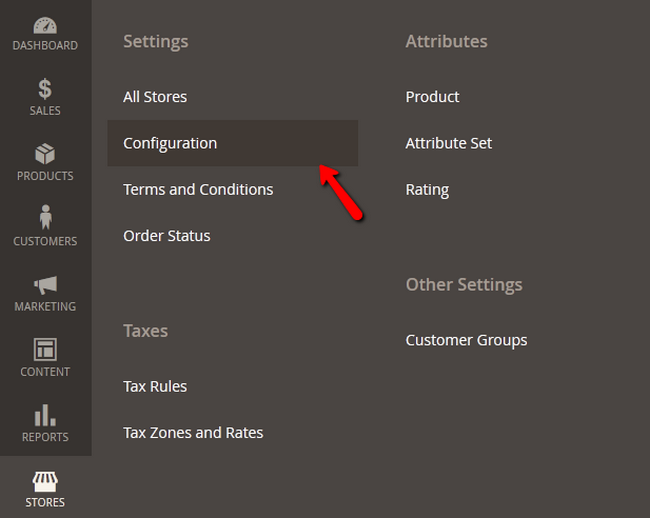
Please refer to the Stores → Configuration section of your admin area.
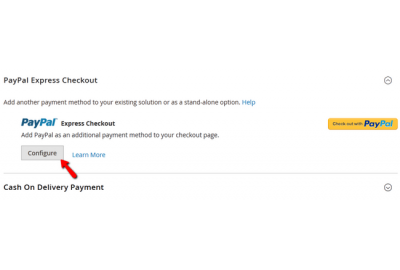
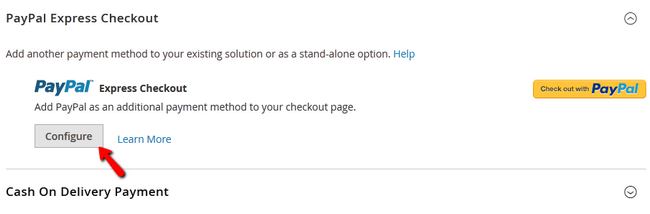
Now access the Sales → Payment Methods menu. For the purpose of this tutorial, we will use the PayPal Express Checkout method, so you will need to find it and click on its Configure button.
Open the Express Checkout options and click on the Get Credentials from PayPal button.
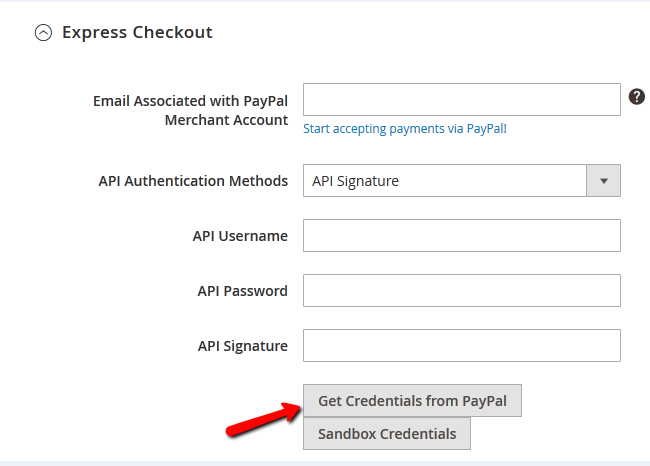
This will open a new window of your browser to PayPal's login page. Once logged in, Magento 2 will copy the required information from your account to the Magento 2 configuration without you having to look for the API Keys yourself.
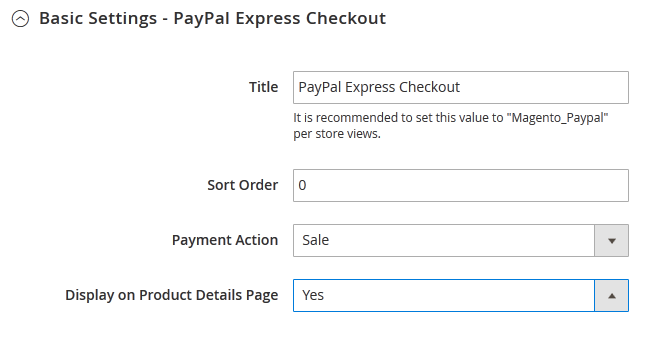
From the Basic Settings you can configure:
- Title - The title of the payment method
- Sort Order - Modifying this will change the display order of the payment method if more than one are available (lower is higher with 0 being displayed on top)
- Payment Action - Here you can choose between Authorization and Sale. If you choose Authorization, you will have to authorize the payments before they can be processed. With the Sale option, the customer will be charged immediately after they pay.
- Display on Product Details Page - Setting this to Yes will allow the payment method to be visible on the details page of every product (recommended)
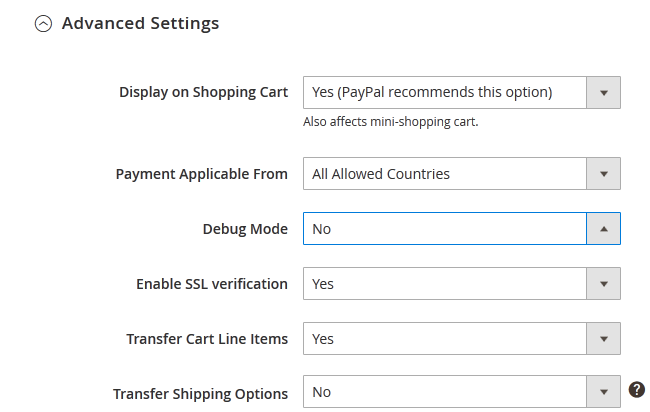
In the Advanced Settings you will be able to configure:
- Display on Shopping Cart - Select Yes to display the method in the shopping cart (recommended)
- Payment Applicable From - If you want to allow only some Countries to use PayPal Express choose them here
- Debug Mode - Enable/Disable Debug mode during development
- Enable SSL verification - Enable/Disable SSL protection
- Transfer Cart Line Items - Enabling this will show all of the purchased item in the PayPal Transaction details during the payment process
- Transfer Shipping Options - Transfers the Shipping Options from your Magento 2 Store to the PayPal window during the payment process
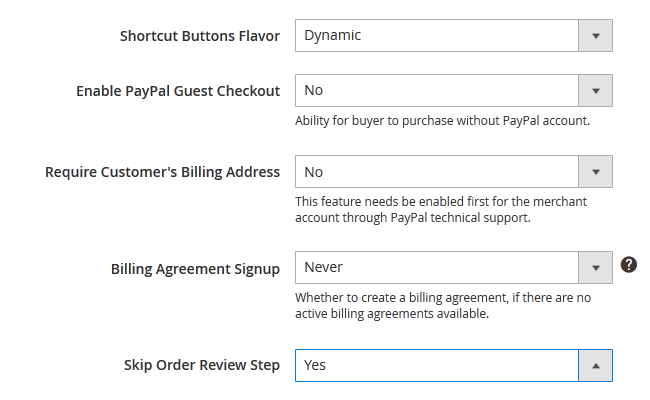
- Shortcut Buttons Flavor - You can choose either dynamic or static shortcut buttons
- Enable PayPal Guest Checkout - Enable/Disable customers with no PayPal account to use this for purchase
- Requires Customer's Billing Address - If set to Yes the customer will have to fill his billing address (not recommended as it adds additional step to checkout process)
- Billing Agreement Signup - If enabled, once a customer makes a purchase, he can choose whether or not his next purchases to ask for his billing details or directly use the one he has used before (we recommend using the Ask customer instead of Auto, if you wish to have billing agreement as a selectable option)
- Skip Order Review Step - With this option the client will skip the Order Review step during checkout
You will also be able to set the front-end looks by adding a logo and choosing the style and colors for the PayPal Merchant Pages.

When you are ready to proceed, click on the Save Config button to save and apply the settings for PayPal Express Checkout.
Congratulations, you have now activated a new payment gateway for your customers to use. You can activate more payment gateways by following the same steps used in this tutorial.