
May 22, 2020
Download Free Magento Extension at here (click here)
There are many factors involved in the success of each eCommerce store and one of the biggest factors is traffic. Hence, it is crucial for store owners to monitor and keep a complete track of traffic on their stores.
Google offers a free service that allows you to track and monitor the traffic and conversion rate in a few clicks. The service goes by the name of Google Analytics.
By using it, you can also determine the user engagement on every page of your store which will help you in improving the SEO of your store.
Magento is perhaps the best eCommerce platform out there, so today, I’m going to teach you how to add Google Analytics in Magento 2.
Add Google Analytics in Magento 2
- Create an Account on Google Analytics
- Configure Google Analytics in Magento 2
- Enable Ecommerce Tracking
First, login to your Gmail account and search for Google Analytics  Just click on Sign Up.
 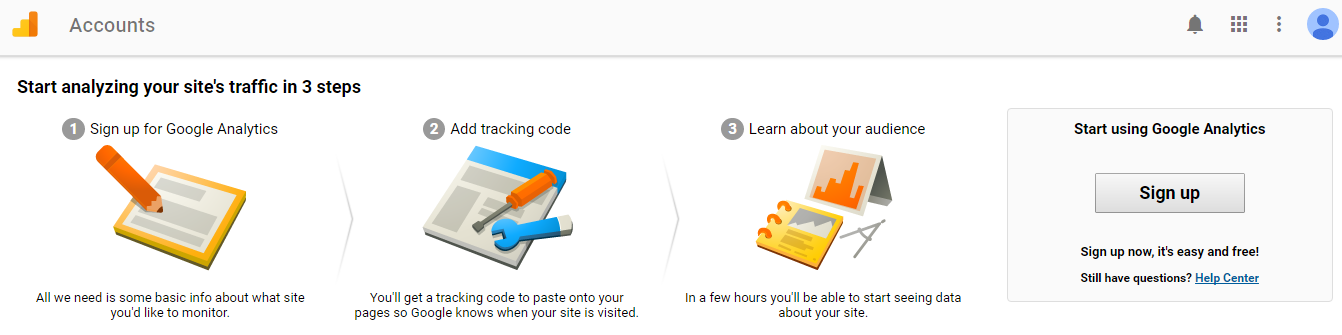 Now enter the details of your store (Account Name, Website Name, and Website URL) and click on Get Tracking ID.
![]()
Now read the Google Analytics Terms of Service Agreement and then just click on I Accept. Set up a property in Google Analytics
First of all, you need to create one property in Google Analytics for each website that you want to collect the data for. After creating a property, your Google Analytics ID will be generated for a later setup. Follow this instruction from Google. 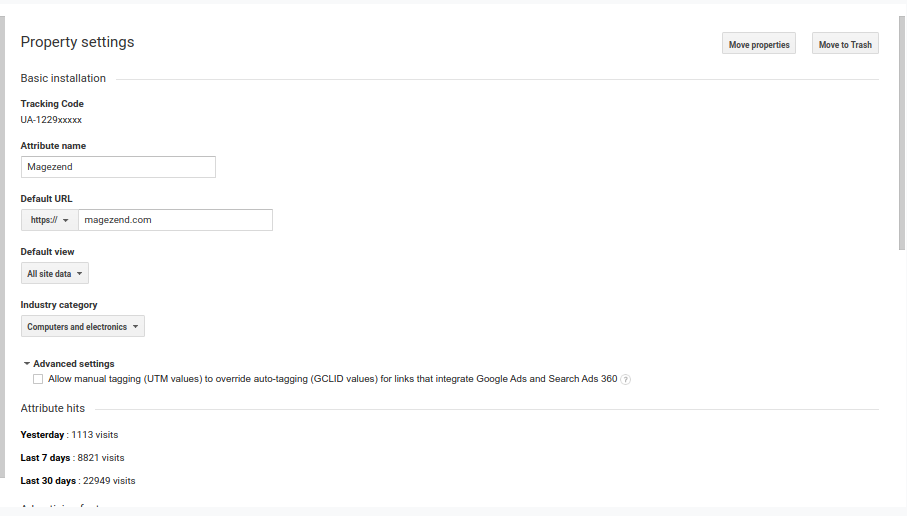
Please copy the Tracking Code UA-1229xxxxx on the head of the image.
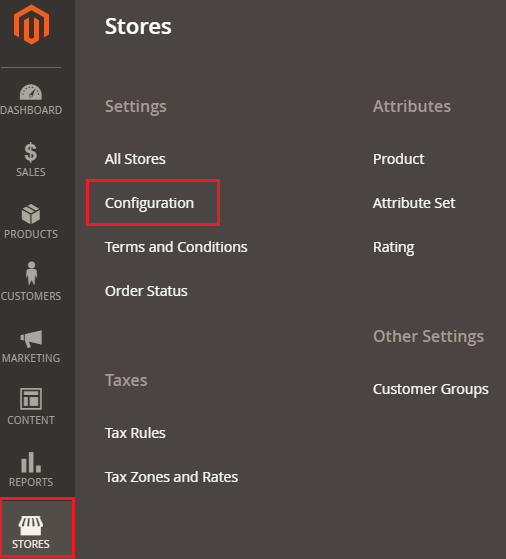
Configure Google Analytics in Magento 2 Log in to the Admin panel of your store and go to Stores → Configuration.
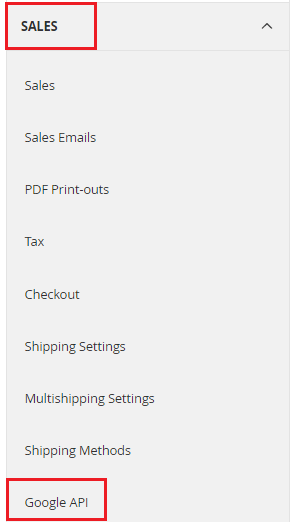
Scroll down the configuration page and click on Google API under the SALES tab.
Unfold the Google Analytics section, and select Yes from the Enable drop-down menu, enter the Tracking ID (which you copied in the first step) in Account Number text field, and select Yes from the Enable Content Experiments drop-down menu. Now just click on Save Config.
Enable Ecommerce Tracking ![]() To enable ecommerce tracking, click on Ecommecre Settings from the Admin area of Google Analytics.
To enable ecommerce tracking, click on Ecommecre Settings from the Admin area of Google Analytics. 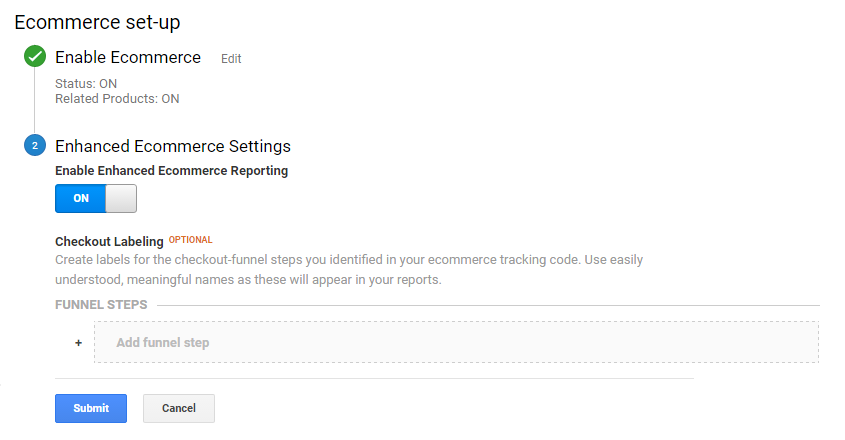 And you’re all done! Visit your store and then go to your Google Analytics. You will be able to see the traffic activity on your Magento 2 store:
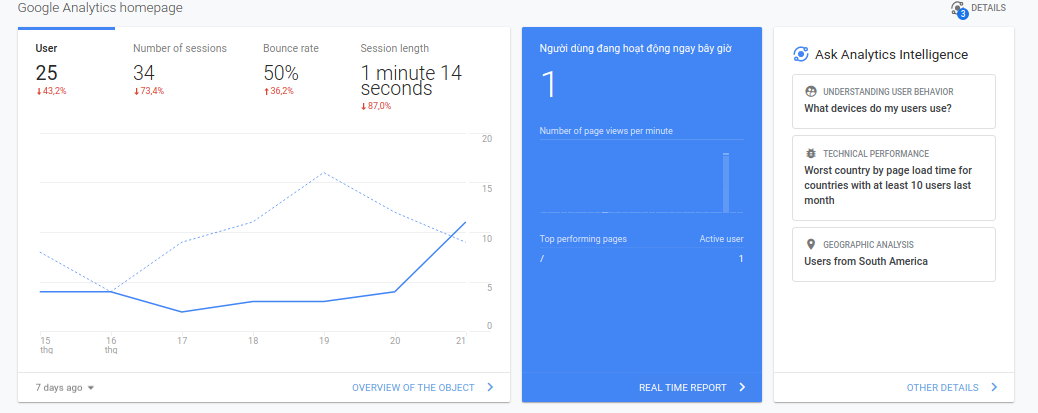
After following this tutorial, you should now be able to add Google Analytics in Magento 2 to monitor your store’s traffic. If you have any problem or would like to add to the discussion, feel free to use the comment box below!